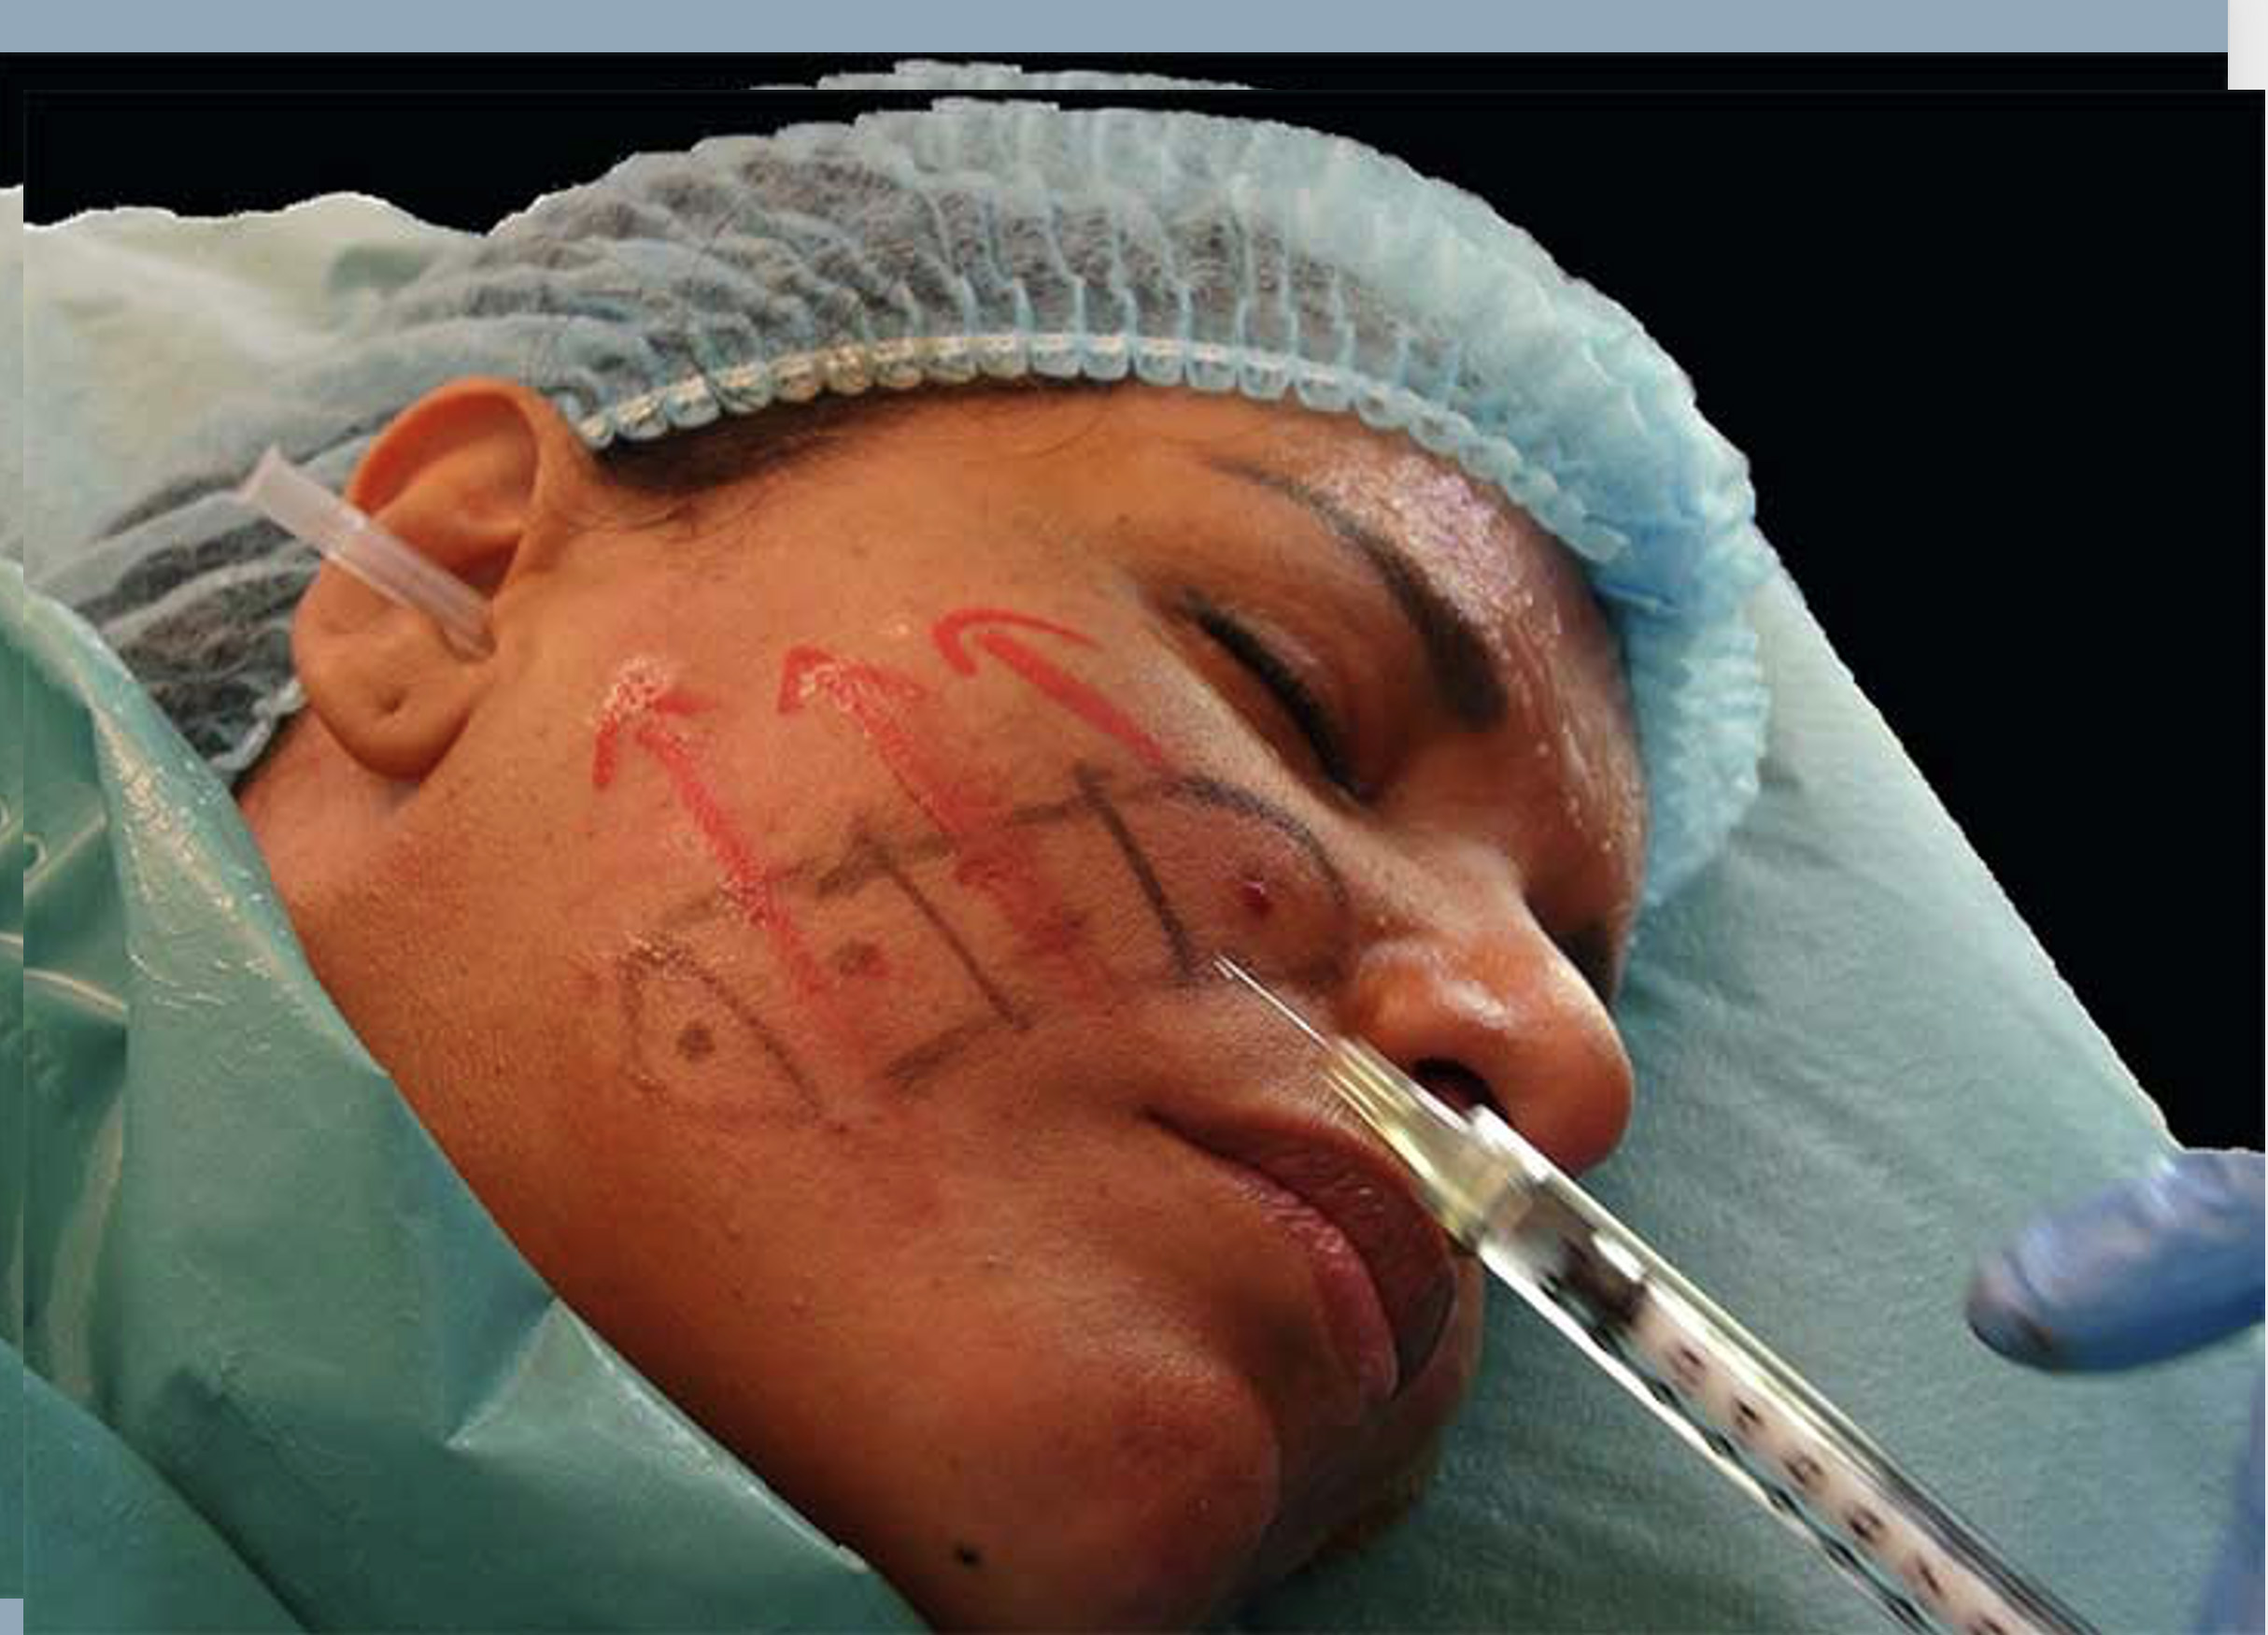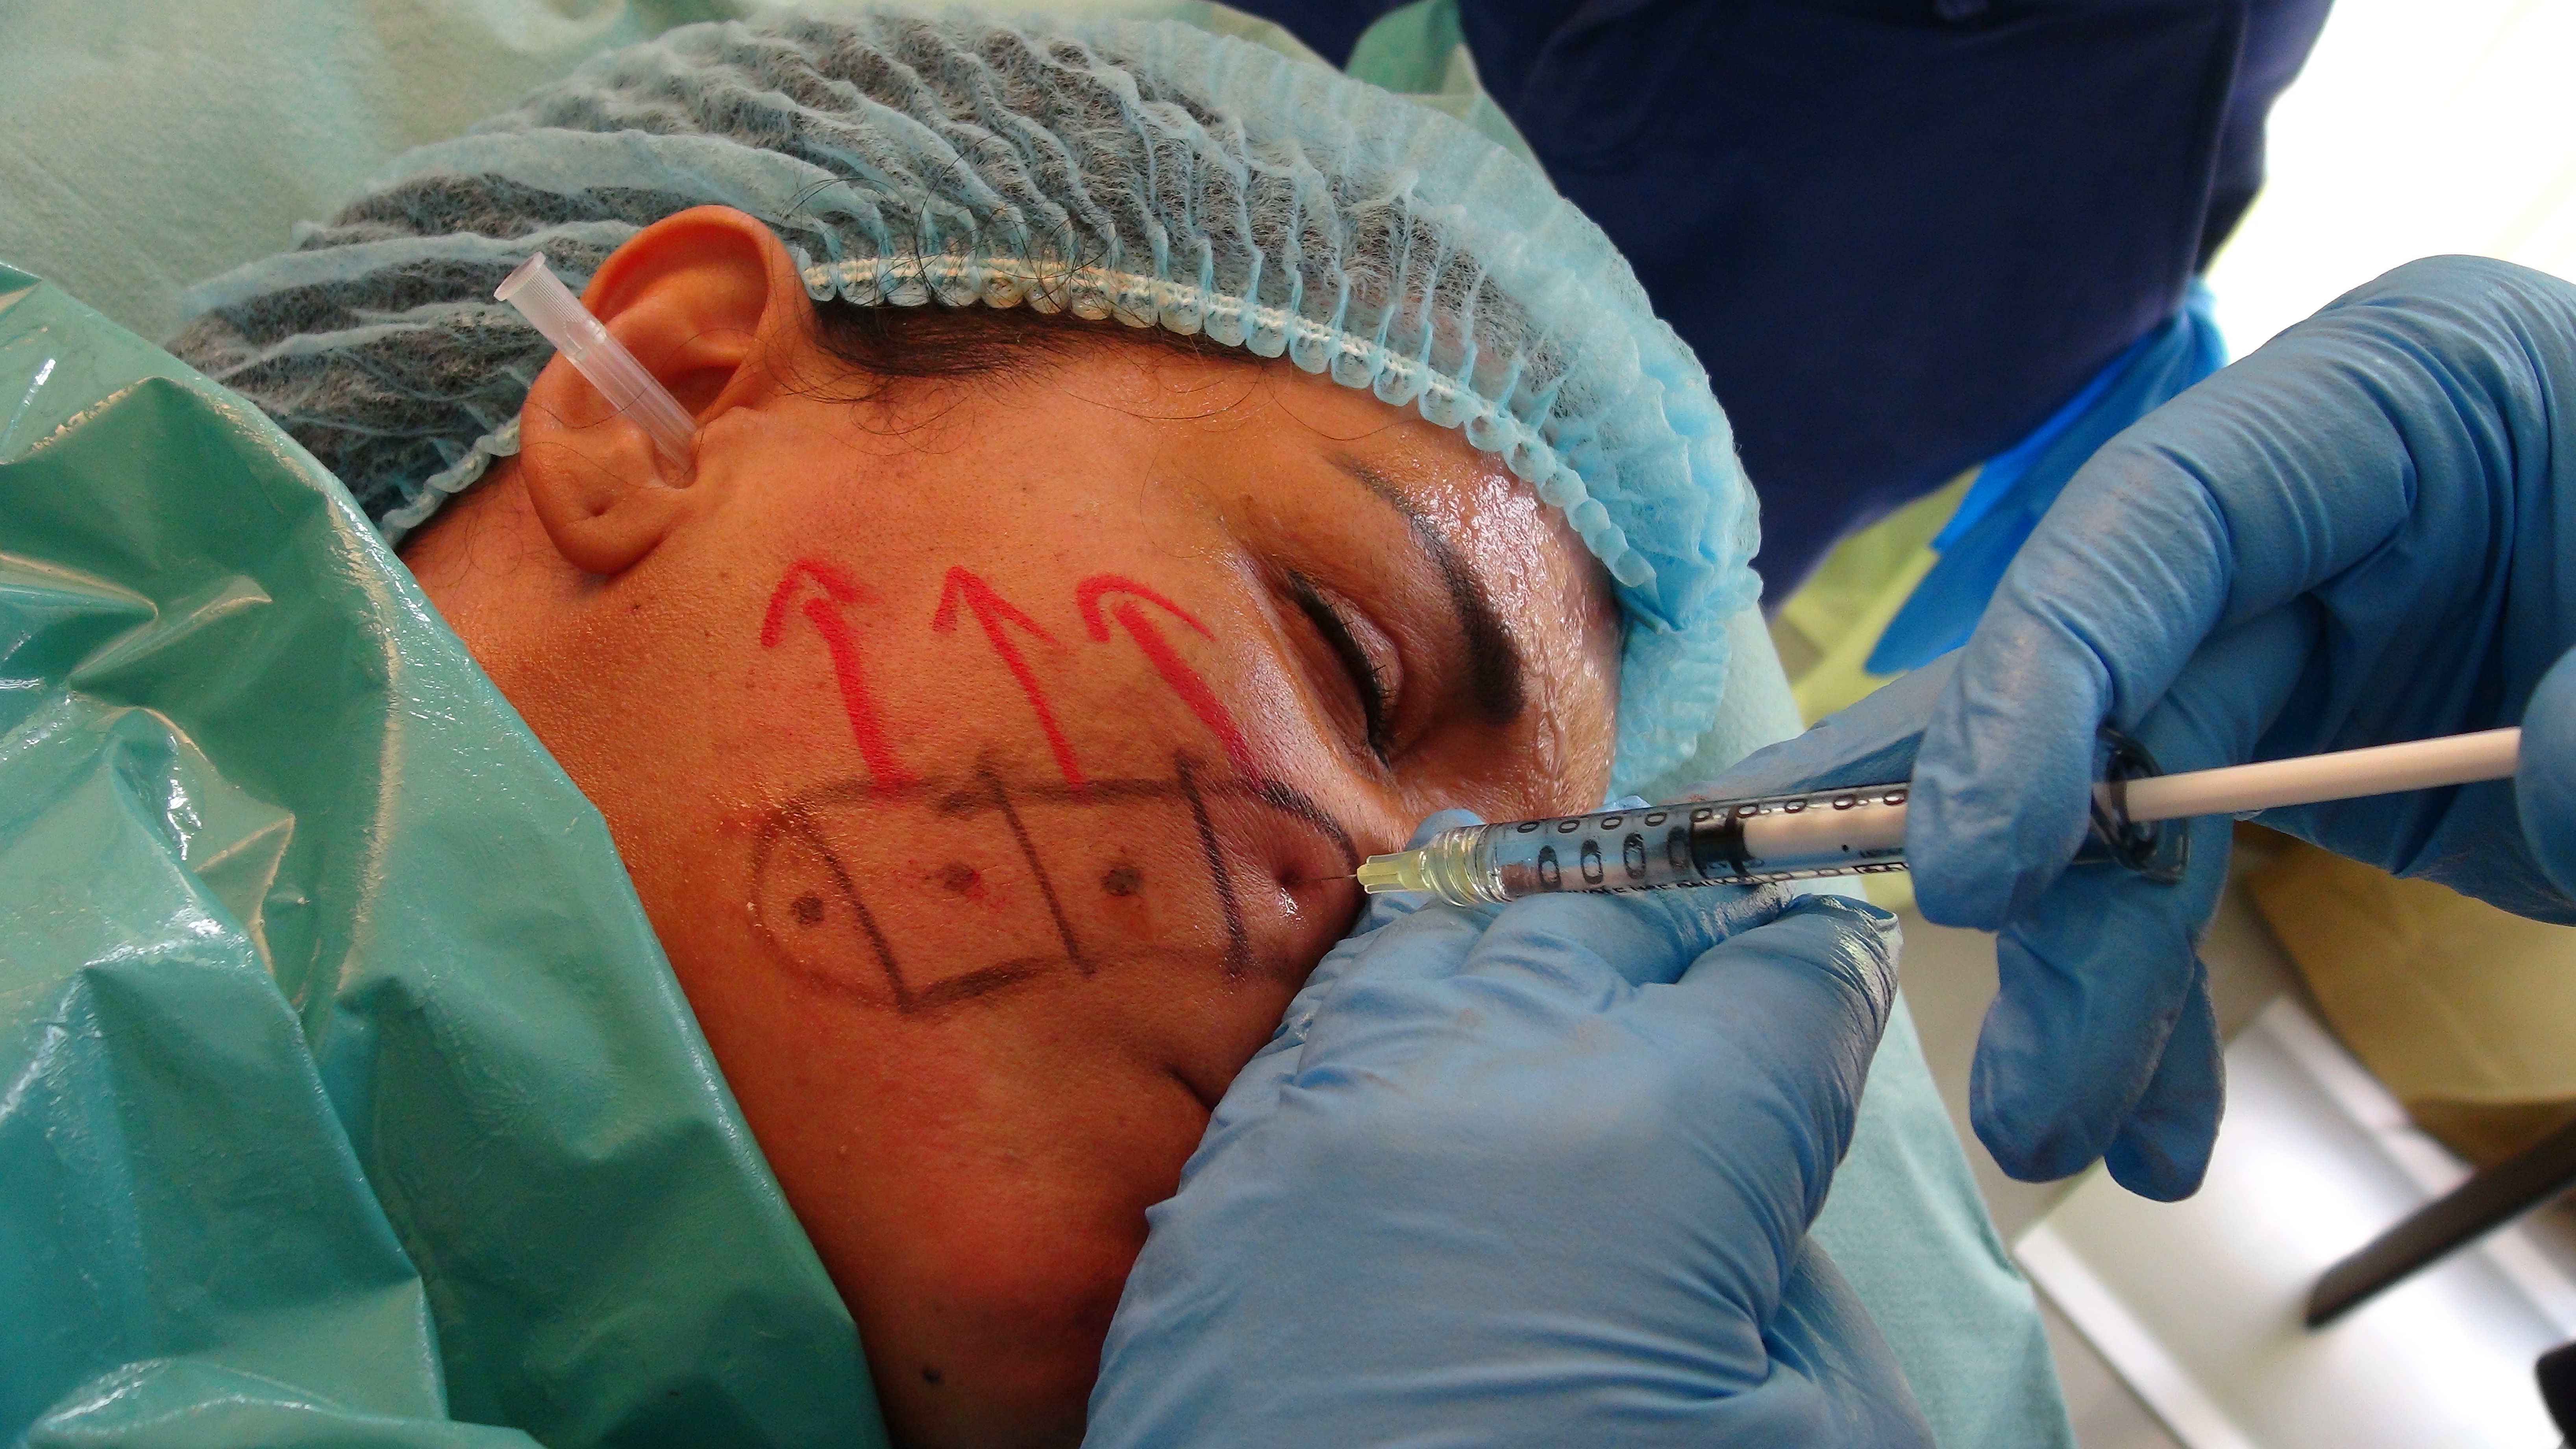
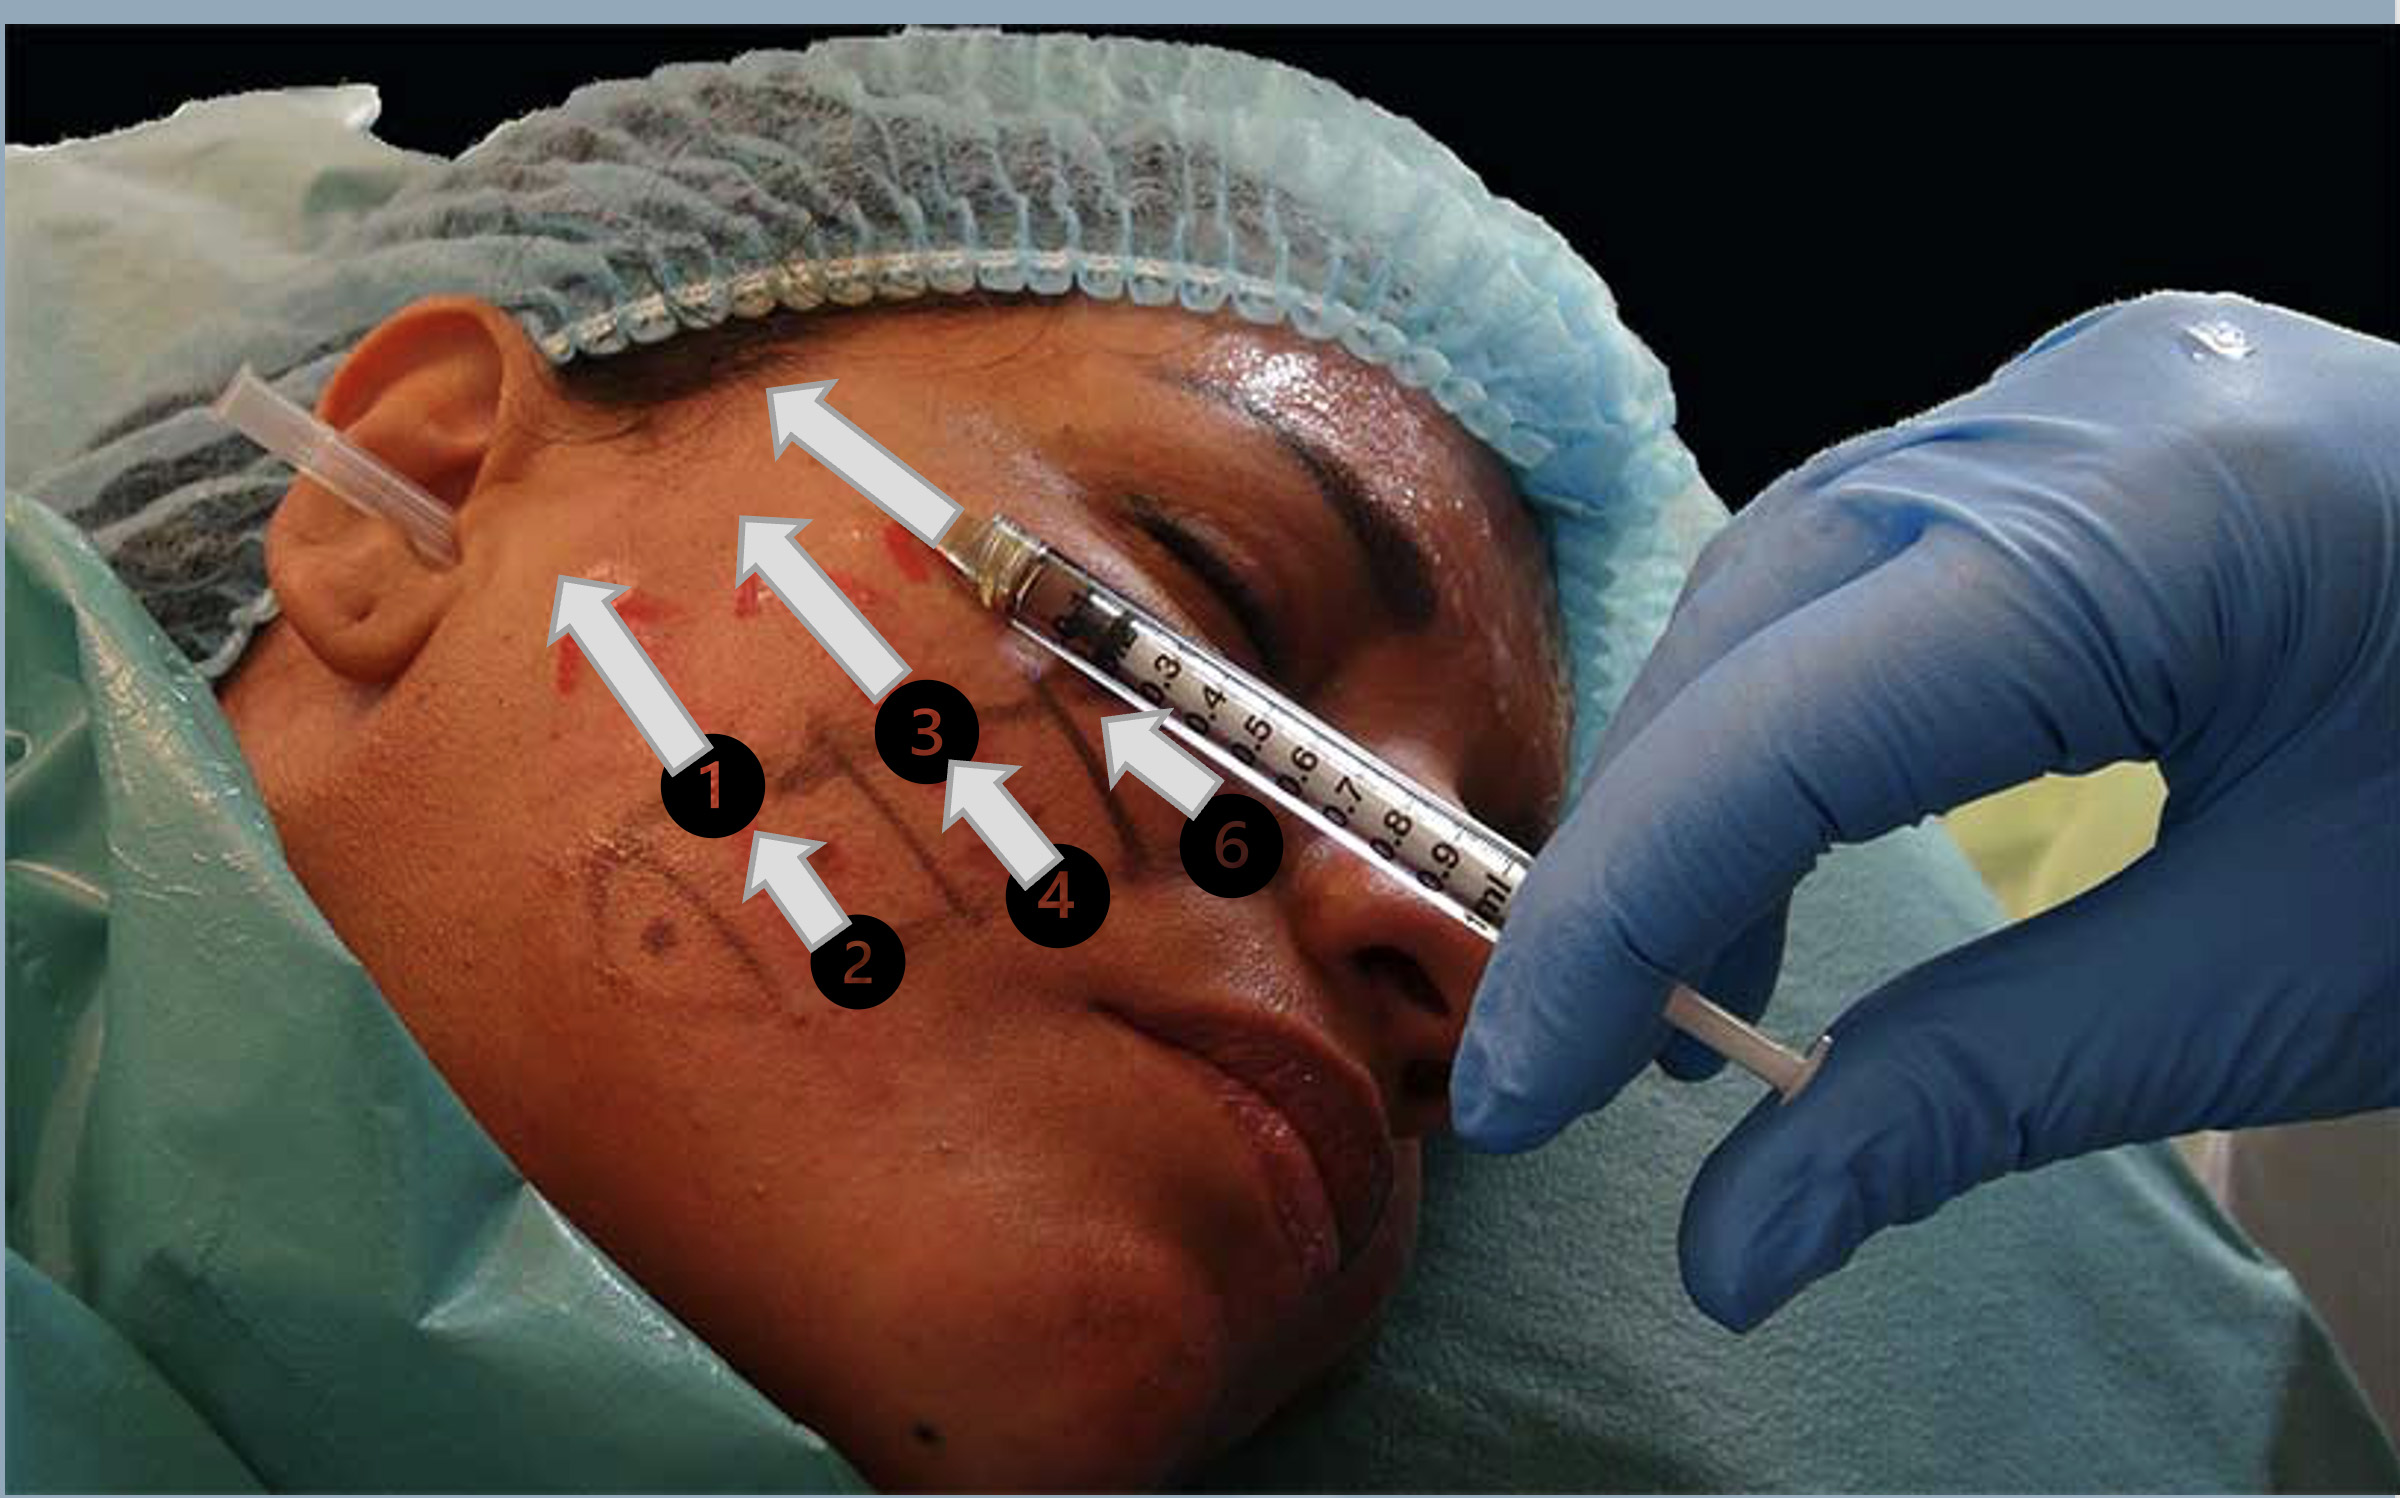
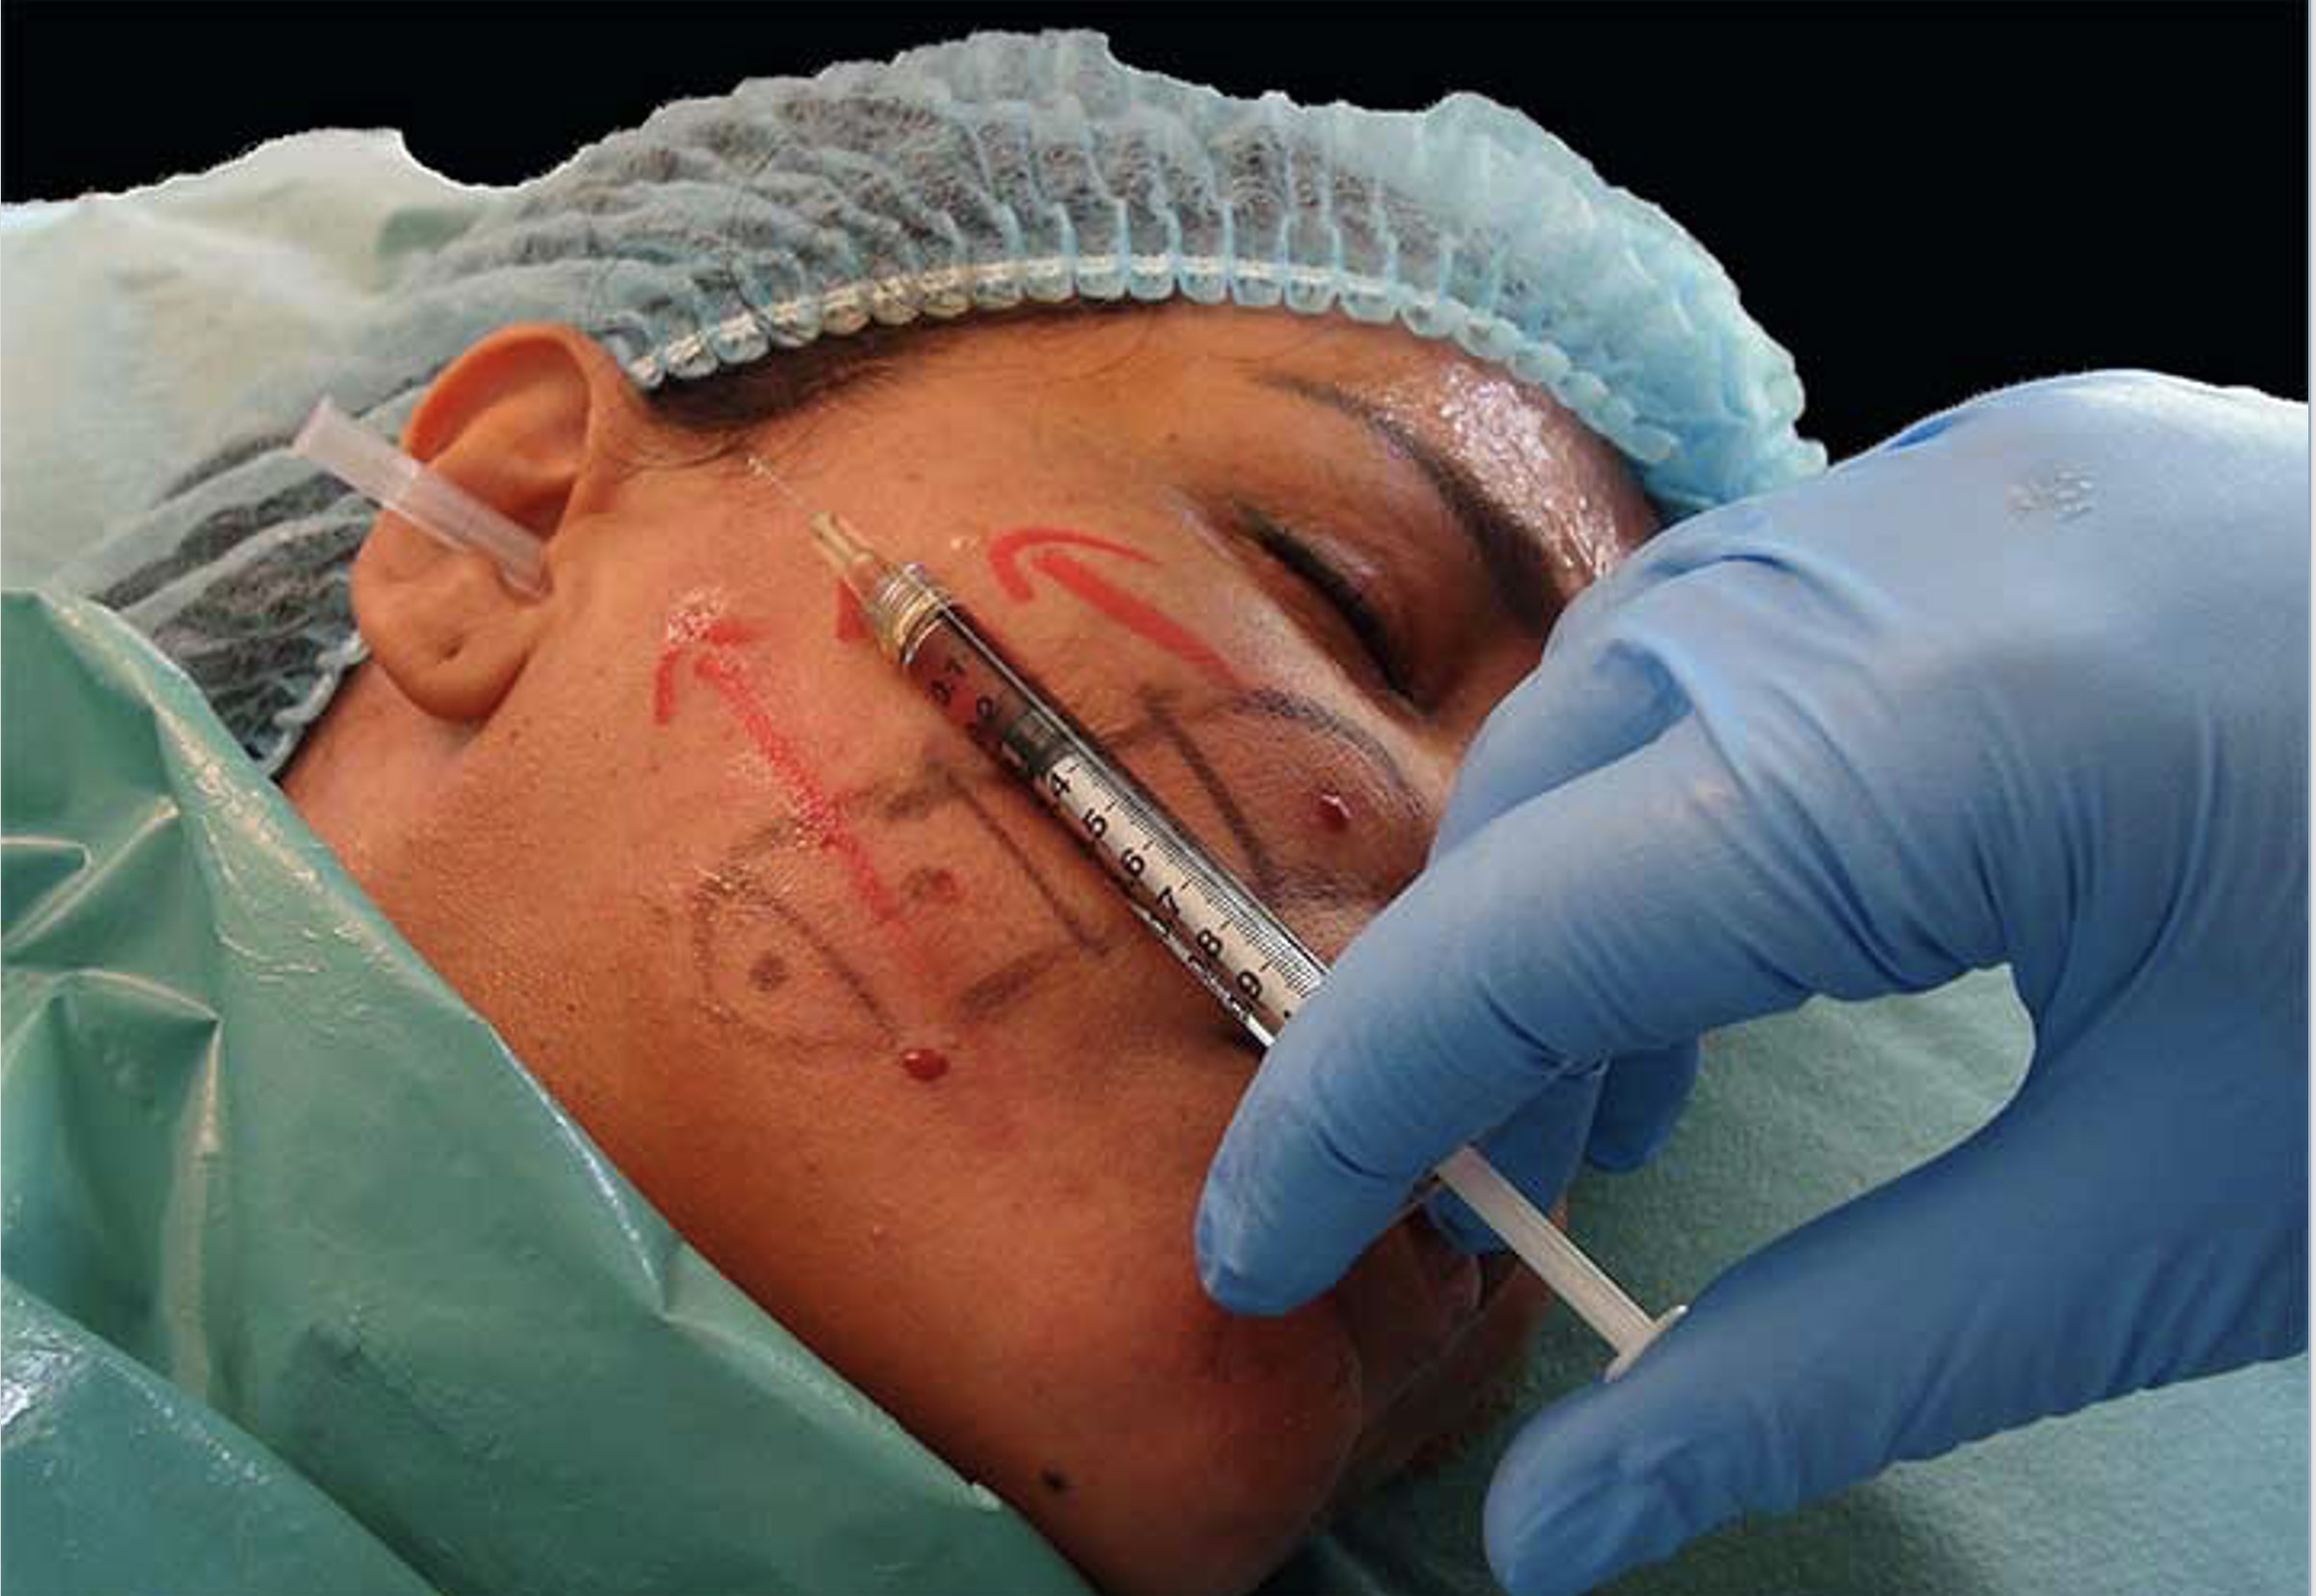
Injection of Tensors
Generalities
Generalities
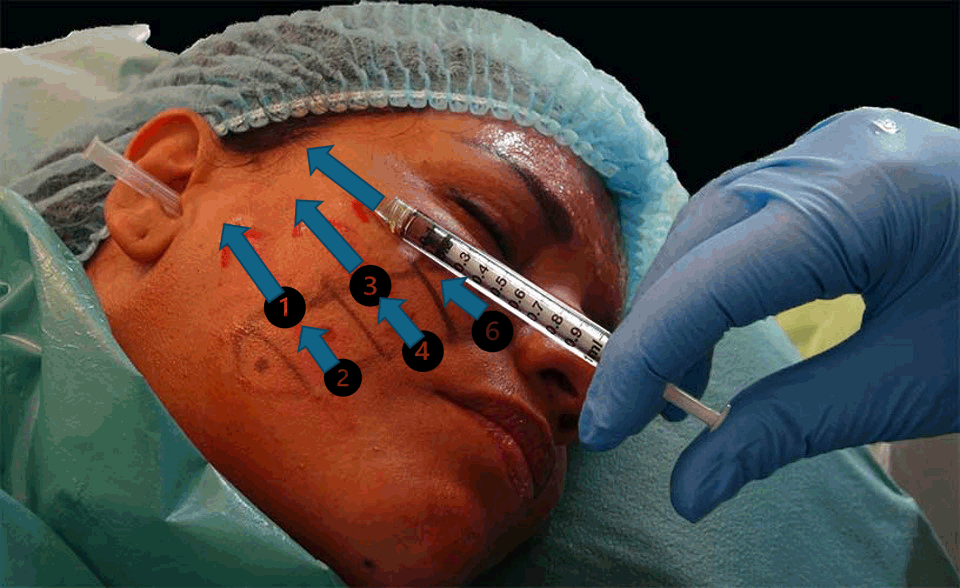
Syringe Position

1 st Step for any tensor injection

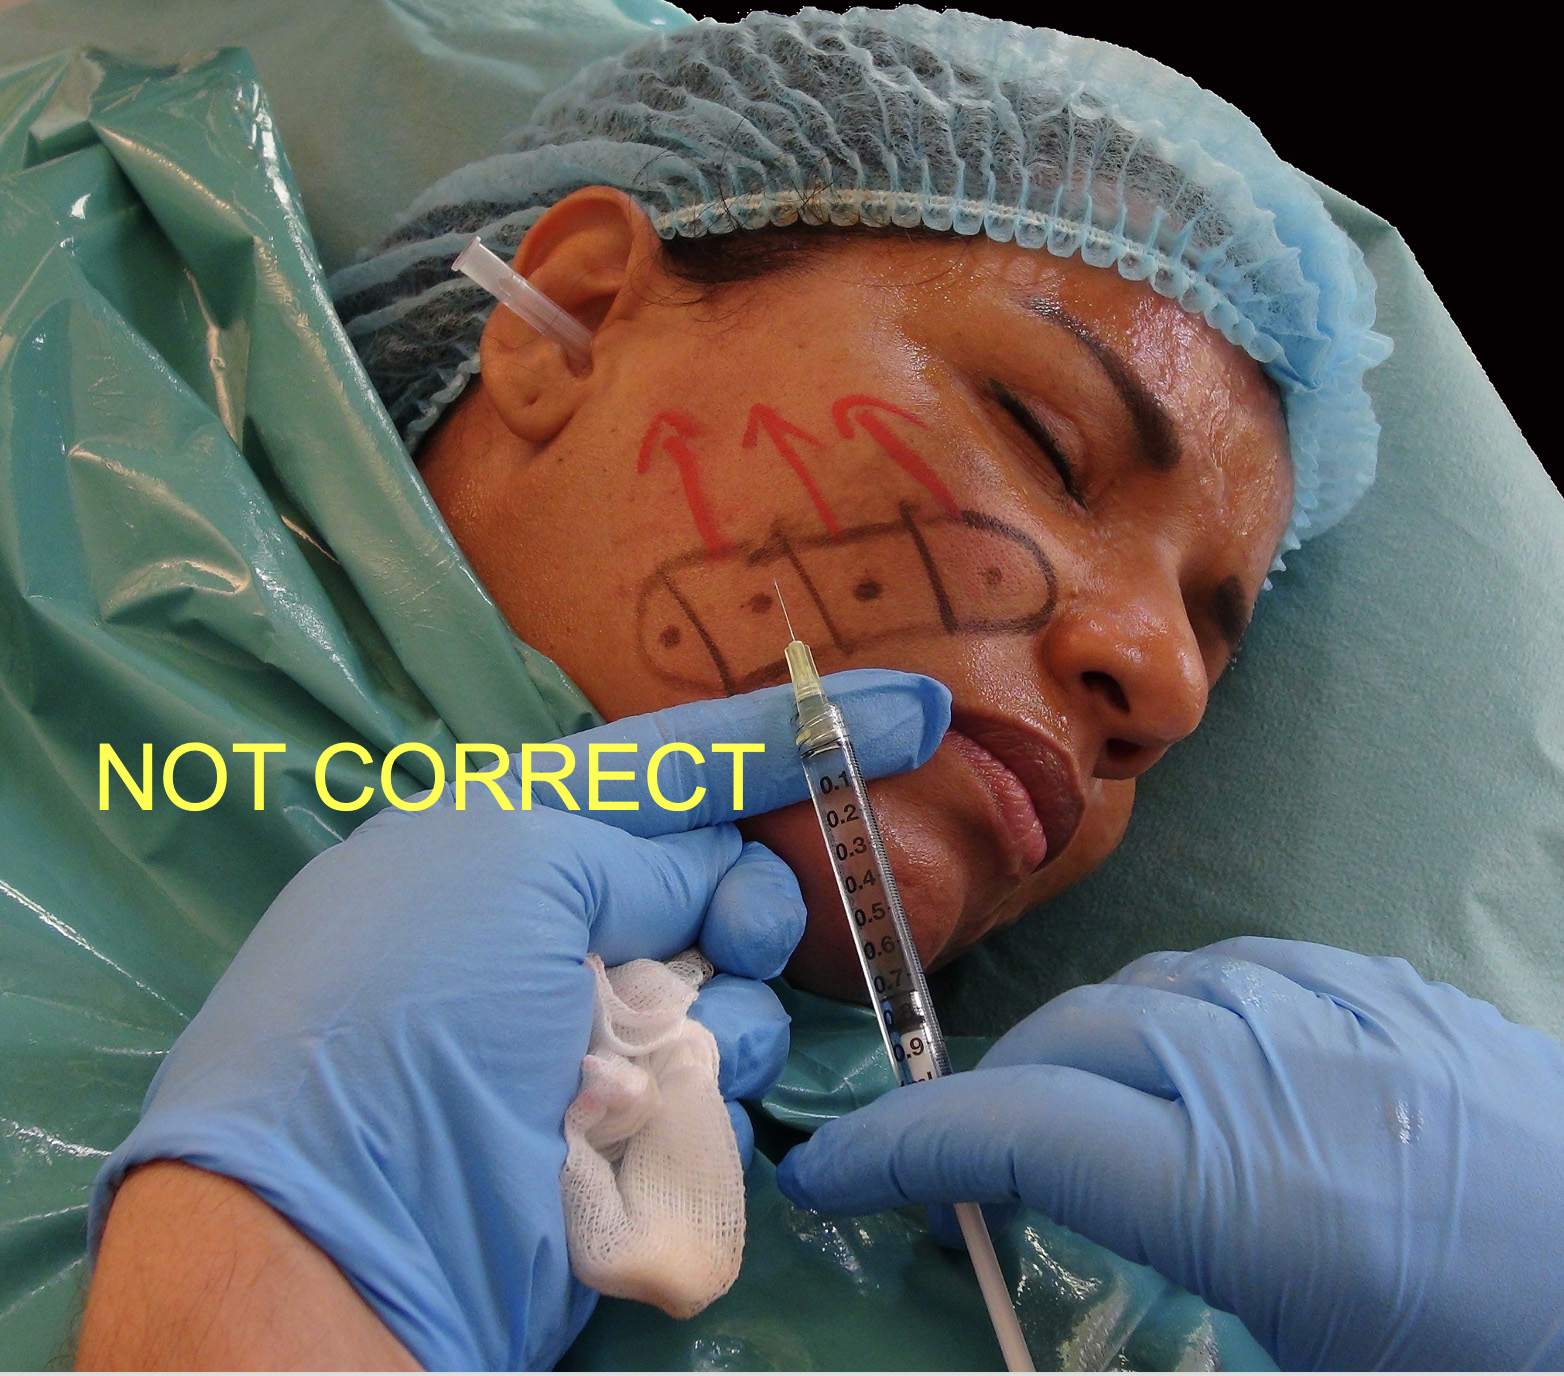
What not to do :
Common Mistake to avoid
Common Mistake to avoid
Last NLF Tensor Injection